A sensory path is a wonderful tool for supporting a child’s development, which stimulates the senses and stimulates motor skills. Made by yourself, it can be a great form of fun and learning at the same time.
In this article, you will learn what a sensory path is, its benefits, and how to create your own DIY sensory path step by step.
What is a DIY sensory pathway?
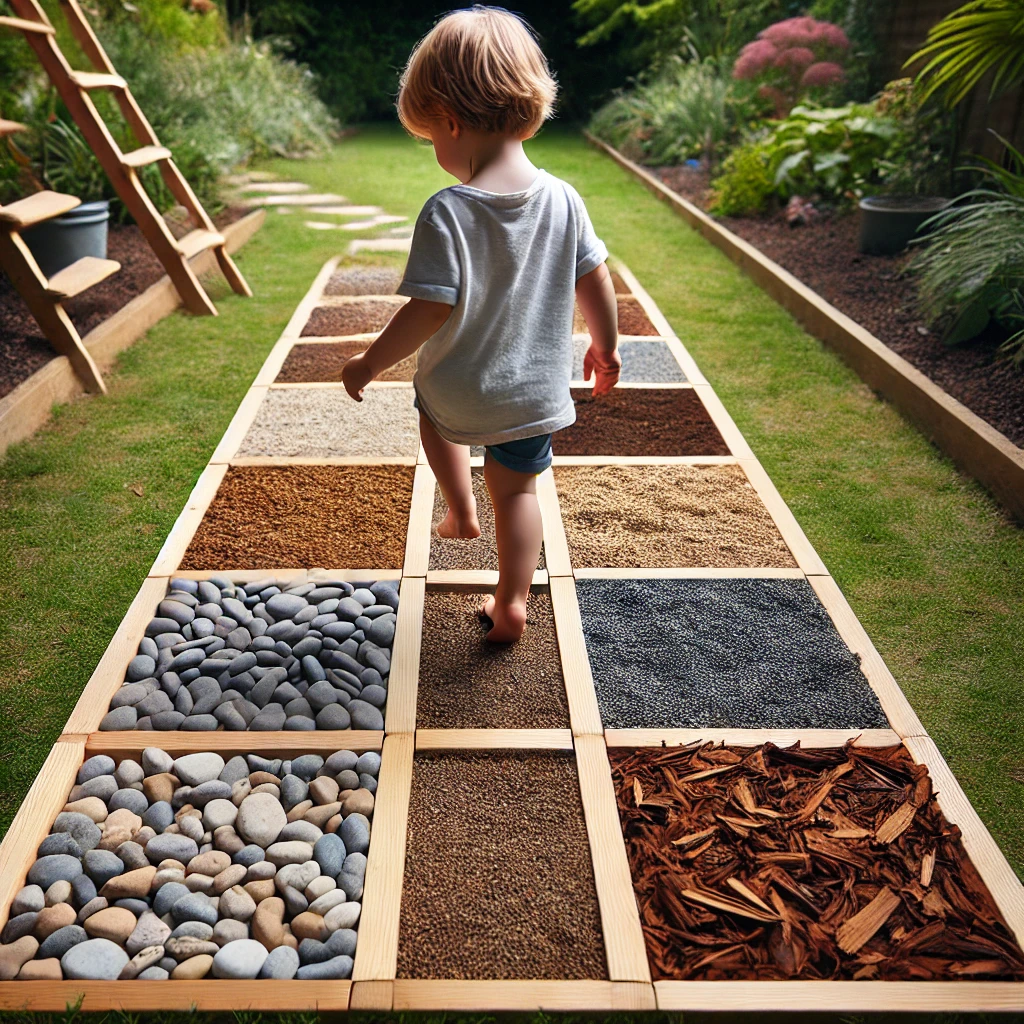
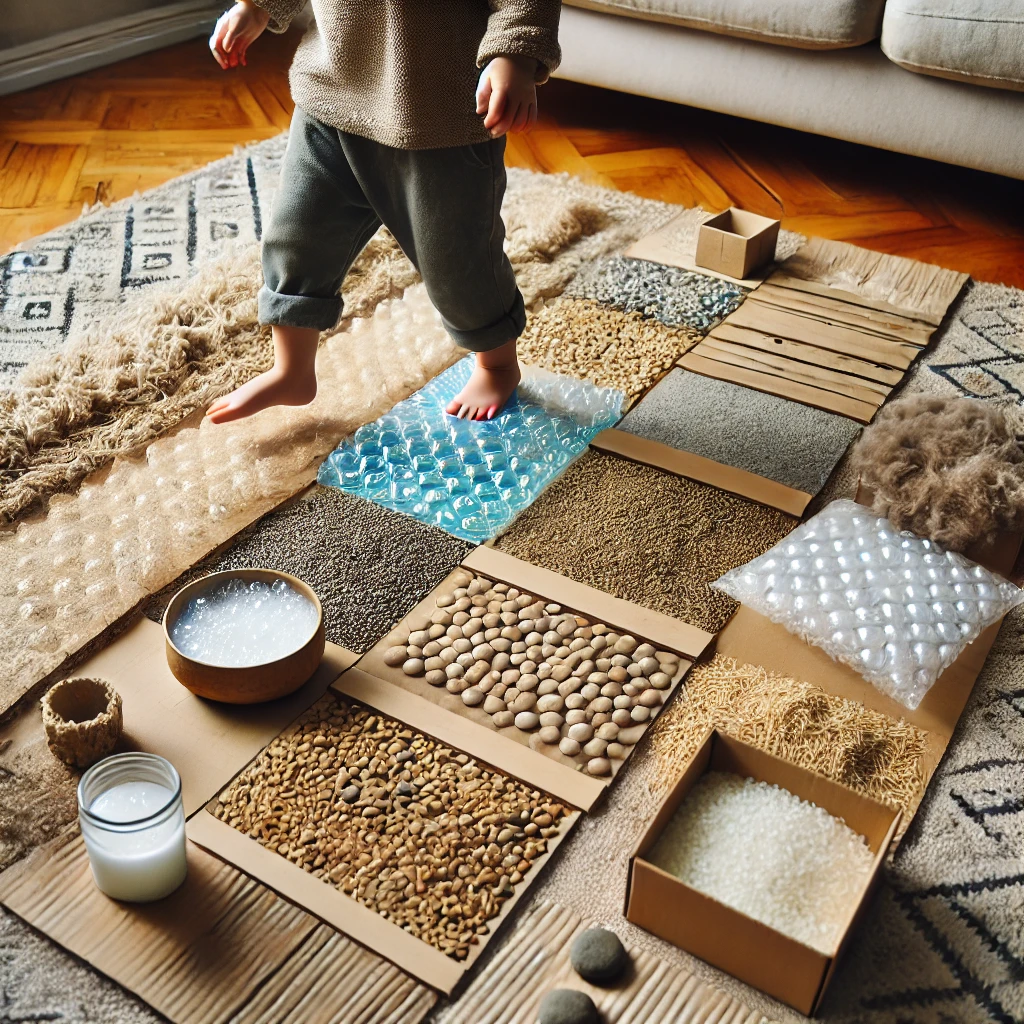
The sensory path is a set of different surfaces and materials arranged in such a way that the child can step on them or touch them with his hands. Each surface has a different texture to stimulate the sense of touch. This can be done both inside the house and outside – for example, in the garden.
Benefits of the sensory pathway
Sensory pathways have many benefits for child development:
Stimulation of the senses – a variety of textures and materials stimulate the sense of touch, which is key to learning about the world.
Development of large and small motor skills – stepping on different surfaces engages the muscles of the feet, ankles, legs, as well as the hands and fingers.
Balance and coordination – going through the various elements of the path helps teach balance and motor coordination.
Body awareness – the child learns to recognize how his body reacts to different stimuli.
Relaxation and therapy – sensory pathways can be used as a therapeutic tool for children with sensory hypersensitivity or sensory processing disorders.
How to create a DIY sensory path?
Creating a sensory path doesn’t have to be complicated or expensive at all. Here are some steps to help you build a pathway at home:
1. Select a location
Think about where you want to place your path. It could be a hallway, a child’s room or a garden. Make sure you have enough space for your child to walk freely on the path.
2 Gather the materials
Gather a variety of materials with different textures. Here are some ideas:
- Artificial grass rug – stimulates the sense of touch and resembles walking on grass.
- Sponges or foam mats – a soft and flexible substrate.
- Pebbles, gravel, shells – place them in shallow trays or containers.
- Rice, beans, pasta – put them in boxes or bags for the child to step on.
- Material of different textures – for example, plush, velour, felt or leather.
- Wine corks, sticks – they will create an interesting, somewhat hard base.
- Soap bubbles, water mat – water elements can also be an interesting addition.
3. Prepare the path
Arrange the materials in the desired place, creating a variety of sections. Each section should have a different material so that the child can experience as much stimulation as possible. You can use duct tape to secure the materials on the floor, or place them in separate containers so they can be easily rearranged.
4. Add educational elements
The sensory path can also be enhanced with educational elements. You can add numbers, letters or shapes so that the child learns to recognize them while playing. Texture nameplates can help teach vocabulary and describe sensations.
5 Security
Make sure the materials are safe for the baby, especially if the baby is small and likes to put things in his mouth. Avoid sharp objects and small parts that could be swallowed.
How to use the sensory path?
The sensory path can be used in many ways:
- Free exploration – let the child independently explore the path and respond to different textures.
- Thematic games – such as pretending that the path is a forest, beach or mountains, which stimulates imagination.
- Movement tasks – assign tasks to the child, such as crossing a path on one foot, with eyes closed, or with an object on his head to increase the difficulty.
A DIY sensory path is a great way to develop your child through play. It’s easy to make, can be modified and adapted to the needs of the toddler, and can be developed as skills grow. For parents, it’s also a great opportunity to spend time with their child, teaching them through play together.
Creating a sensory path at home is not only fun, but also an investment in your child’s sensory and motor development. Take up the challenge and create a unique path that will bring your little one a lot of joy!